What is MARK?
MARK stands for Mutual Authentication to Resist Keylogging and is an implementation of the STARK protocol combined with TRESOR-based full disk encryption.
The basic idea behind STARK is that your computer has to prove to you that it is in a certain (non-manipulated) state before you enter your full disk encryption passphrase. The main goal of this method is to render software based Evil Maid Attacks void even if the attacker uses tamper and revert attacks. In contrary to POTTS, which is another implementation of the STARK protocol, MARK does not use one time messages, so called monces, to authenticate itself to the user, but instead makes use of an active USB drive, which indicates to the user whether the computer has been manipulated or not.
Furthermore MARK is resistant towards coldboot attacks and uses a modified version of TreVisor, the TRESOR hypervisor. Consequently MARK is able to run with every multiboot-compatible operating system, specifically Linux or Windows. Particular care has been taken to make MARK as user-friendly as possible.
Features
Here is a list of features that MARK currently provides:
-
full disk encryption of the entire hard disk including the master boot record
-
support for any multiboot-compatible operating system (tested with Linux and Windows)
-
resistant towards evil-maid attacks
-
resistant towards tamper and revert attacks
-
resistant towards coldboot attacks
-
plausible deniability
How does it work?
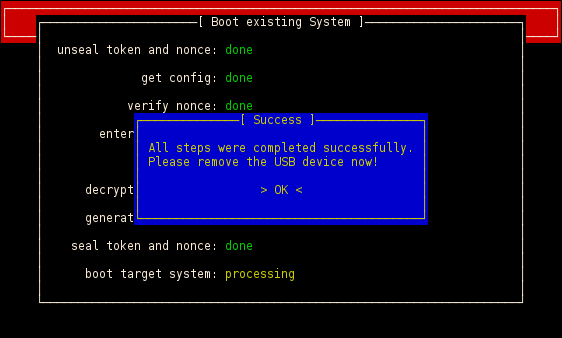
We want to give a really short overview of how MARK works. This are the stages that are passed during a normal boot:
-
Your computer boots from the MARK drive, which consists of a USB mass storage device and an active USB drive.
-
With the help of Trusted GRUB a patched version of the BitVisor hypervisor is loaded.
-
The hypervisor then loads a minimal Linux kernel together with a ramdisk. The ramdisk consists basically of a minimalistic Debian system.
-
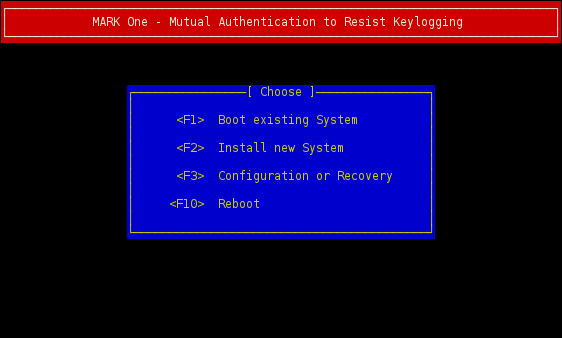
Our UI starts within this ramdisk and you have the choice to install a new system or boot into an existing system.
-
During this whole process the platform configuration has been measured with the TPM. A nonce (number used once) is generated and sealed to this platform configuration at every boot.
-
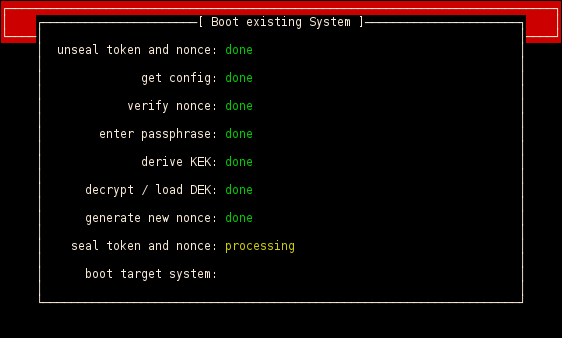
If you decide to boot an existing system the nonce of the last boot is unsealed. This only succeeds, if the platform configuration has not changed. An attacker has no possibility to forge the UI and get the previous nonce at the same time.
-
The nonce is verified with the help of the active USB drive. Therefore the computer sends the nonce to the drive and a LED on the drive signals that the verification succeeded. It is not possible to switch the LED on without knowing the previous nonce.
-
The user should enter his passphrase if and only if the LED on the active USB drive has been switched on. With the passphrase the DEK can be loaded.
-
A new nonce is generated and stored into the EEPROM of the drive. This is only possible if the verification of the previous nonce succeeded.
-
With the DEK the target system can now be booted. Therefore a special vmcall instruction is executed via kexec which passes the hypervisor the DEK and initiates the boot process.
-
The hypervisor transfers the DEK to the debug registers and wipes the whole memory to make sure that no key fragments remain within RAM.
-
The hypervisor hooks all disk operations and transparently encrypts everything with the DEK. It loads the first sector of the hard disk and jumps to it.
-
Finally your target operating system takes control and everything works the usual way on top of the hypervisor.
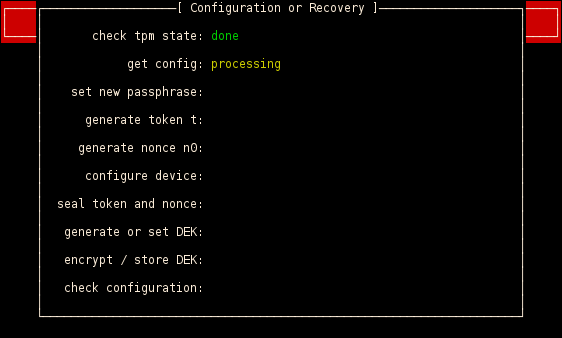
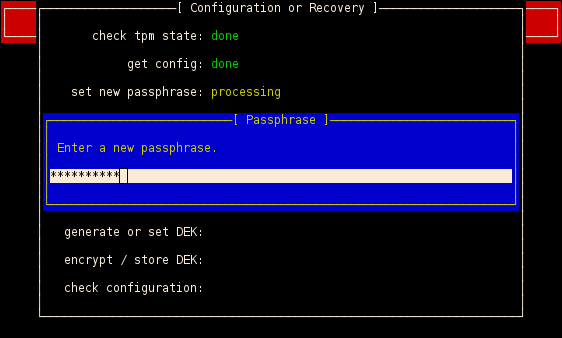
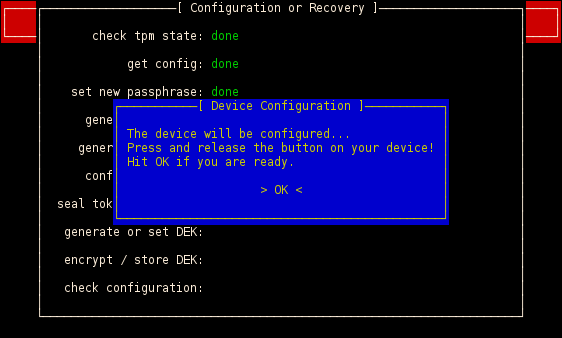
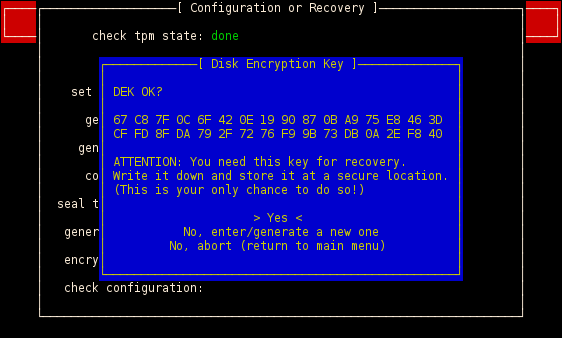
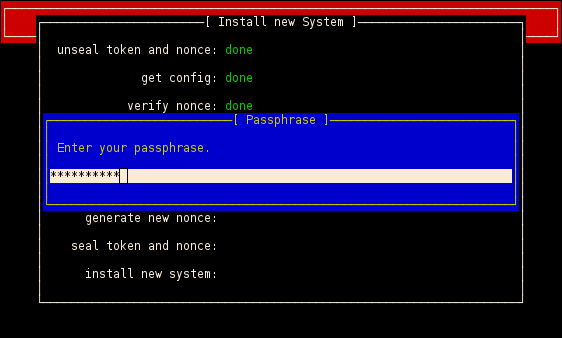
If you are booting the first time a lot of configuration has to be done, e.g. the state of your TPM will be checked, you have to set a new passphrase, the system will be initialized with random data (token, nonce) and the active USB drive will be flashed with a custom firmware.
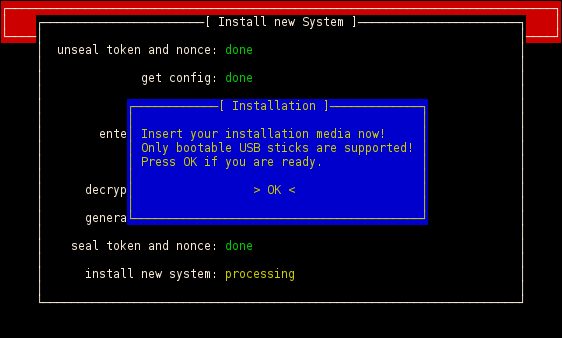
If you want to install a new system the installation image will be encrypted and written to the hard disk. After that the process is very similar to the process described above. It is possible to use the entire hard disk for the target operating system, i.e. the installation image can be overridden during the installation process.
Screenshots and Photos
Here you can see some screenshots of MARK in action:
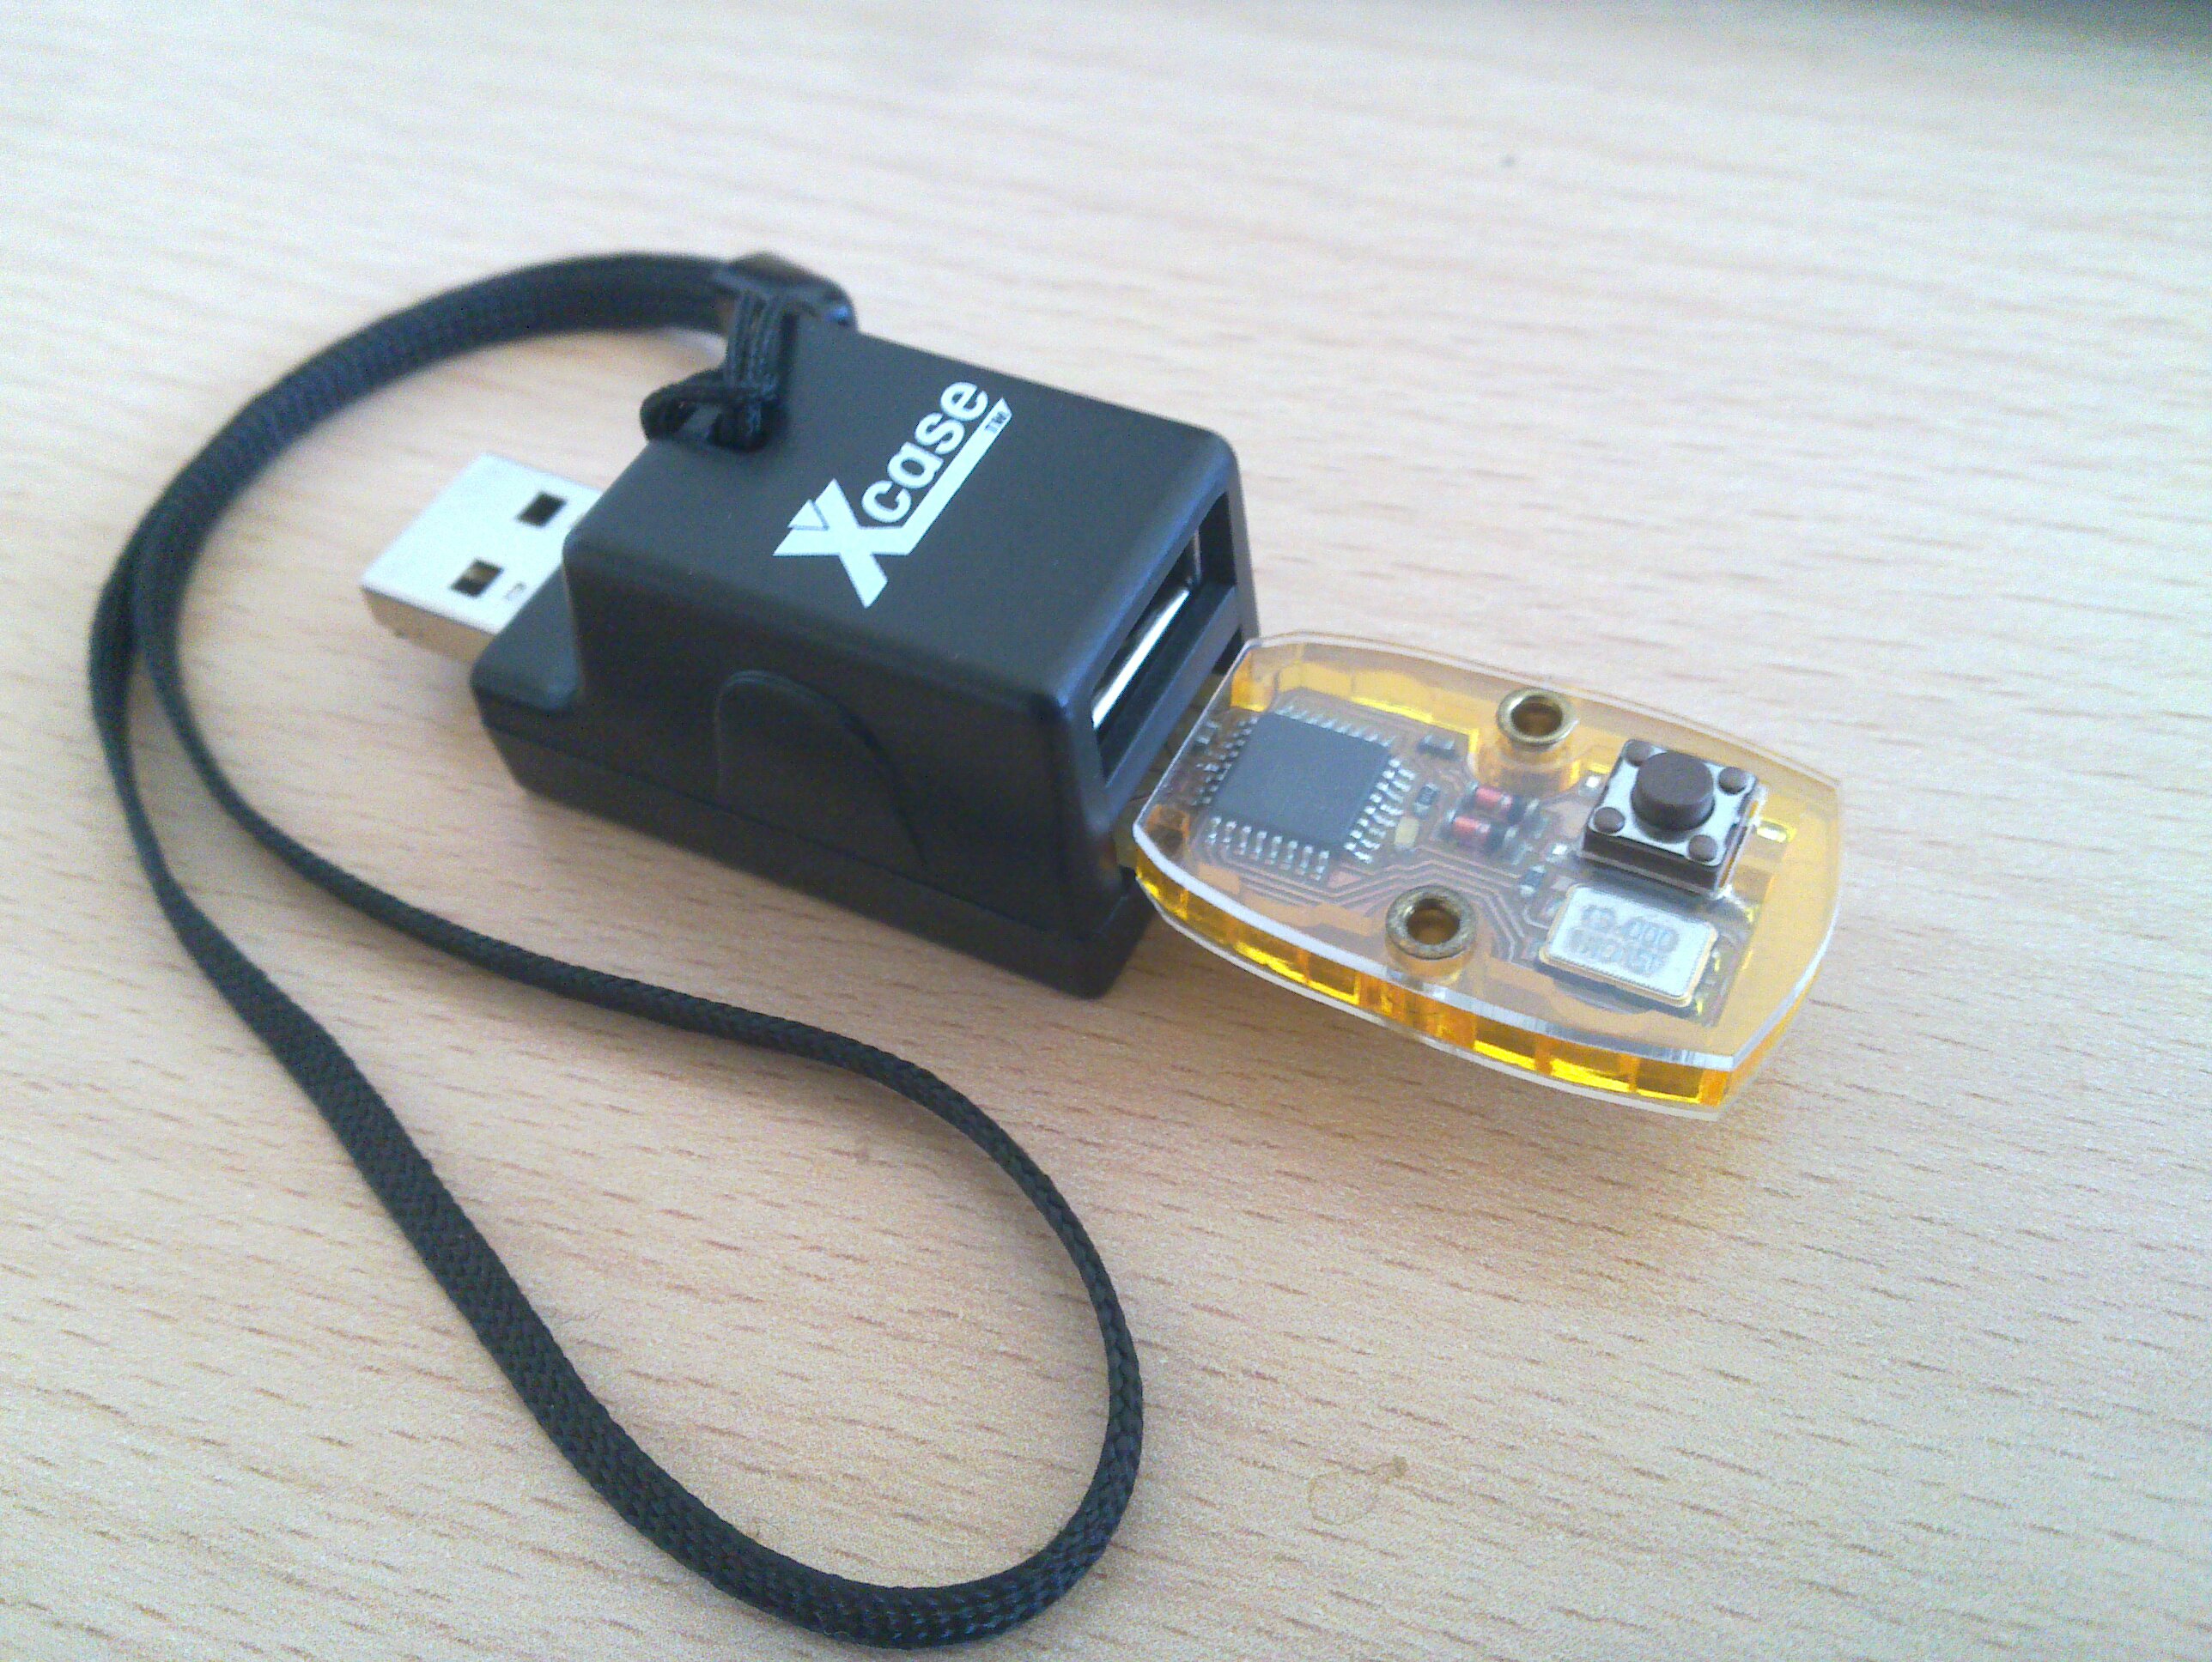
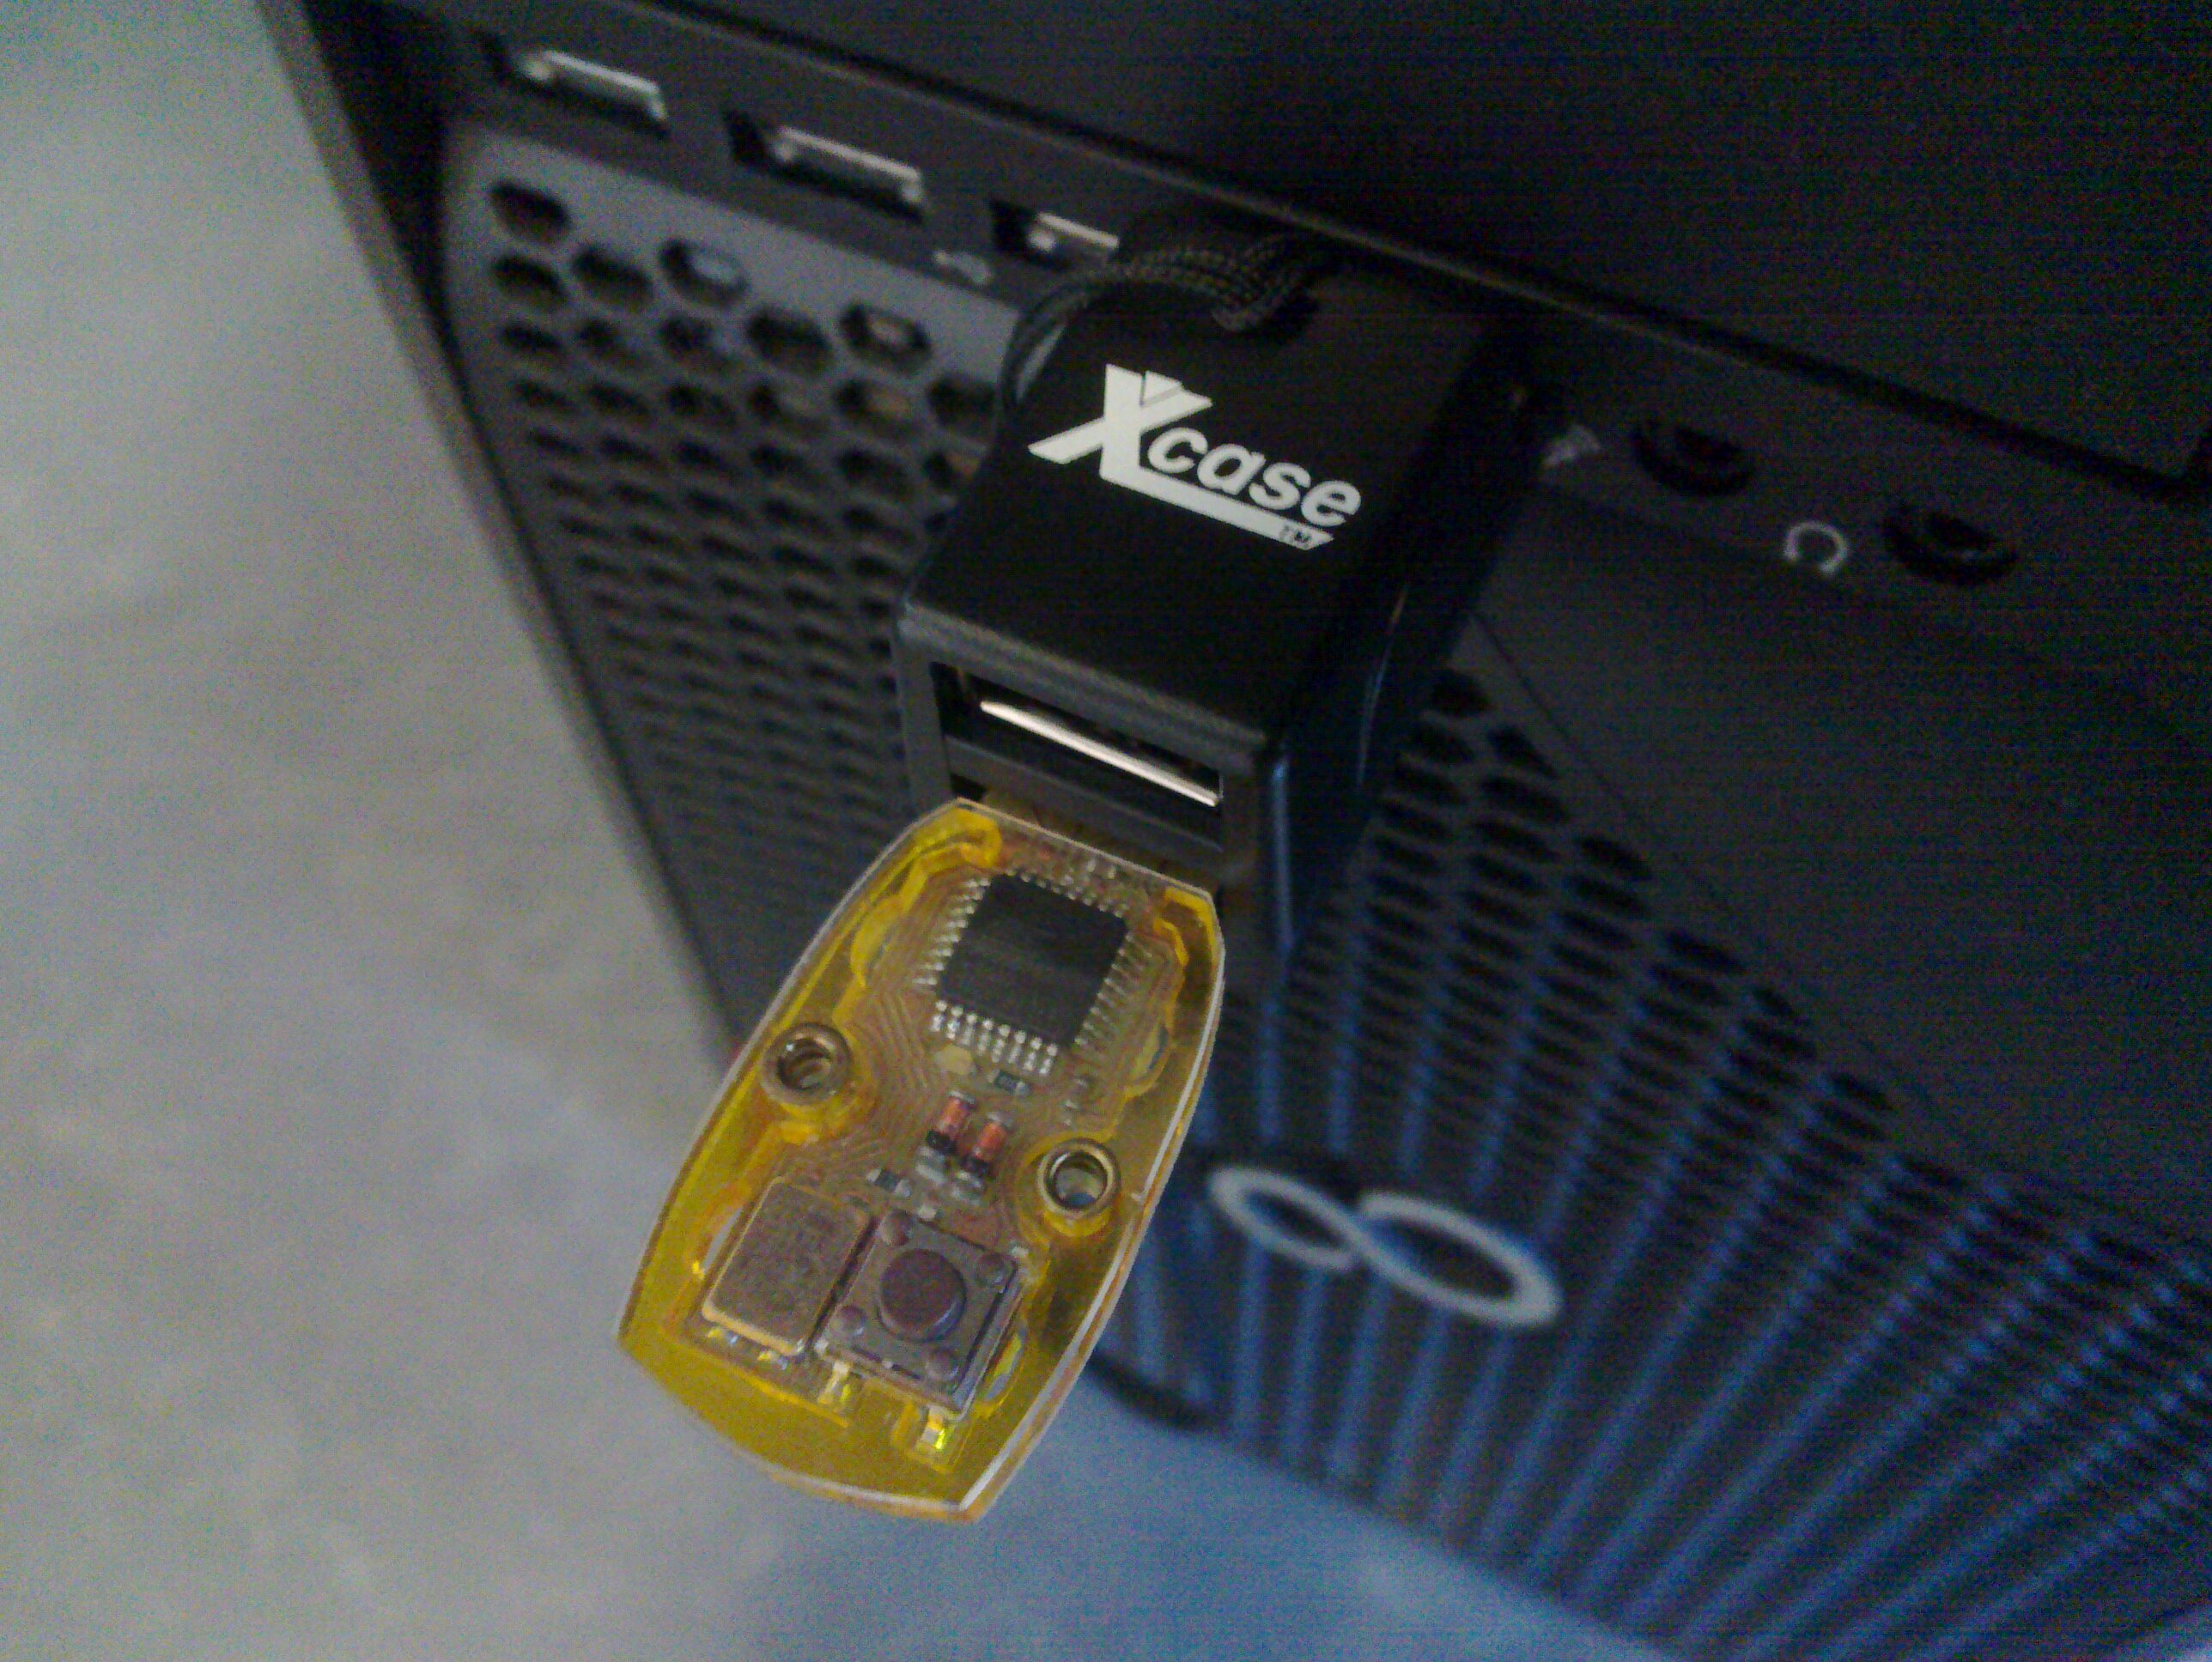
Here a are two photos of a MARK drive. It consists of a microSD card as mass storage and a teensy, which serves as the active USB drive. Both are simply connected via a USB hub:
Requirements
To use MARK you need a x86_64 system with at least 1GB of RAM and a working TPM chip. Moreover you need a USB mass storage device with at least 512MB and a teensy USB device, which serves as the active USB drive. Teensy devices can be purchased on many websites. We currently use the at90usb162 variant (more information).
Limitations
Because we are already using a hypervisor you are not able to use hardware virtualization on top of your operating system. Maybe this can be resolved with nested virtualization in the future. As the TRESOR encryption routines use the debug registers as key storage it is not possible to set hardware breakpoints anymore.
Unfortunately there are still some real limitations:
-
The TPM has to be in an owned state. Owning the TPM is not possible from our UI and you have to do this in advance.
-
Currently only one hard drive is supported. If you have multiple hard drives all of them will be encrypted with the same key and you might face problems in booting your system. (Try and tell us :-))
-
Performing actions in the bootloader of your target system might require a PS/2 keyboard.
Downloads
You can either download a ready-to-use image and just copy it or the sources and build MARK yourself. For instructions on how to use or build MARK have a look at the manuals below.
Manuals
If you want to use MARK or are a developer, who wants to know more about this project, these manuals might be interesting to you. Please have a look at them first if you encounter any problems. There are two manuals: